Building Application With Google OAuth Identity
OAuth
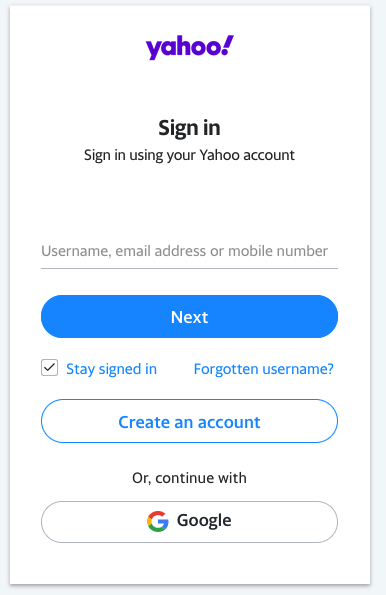
Today we see so many applications with the “Sign In With Google” button (Well 10 years back we thought everything will be a “G+” button but that didn’t happen :)). What it does is it lets you provide Google Credential (of course by redirecting to a valid Google Sign In page which you trust) and sign in exactly how you would sign in to a Google service like Gmail or Google Photos then it comes back to the original website and continues as a logged in user. This works as a “Single Sign On” where you don’t have to sign in to the website using its own username/password and remember those hundreds of credentials for various sites you use on daily basis. Even yahoo.com which once was known as a rival of google services (especially in terms of email) has a “Sign In With Google Button”. Even if you have a dedicated username/password for the website since your google account was linked to those credentials the website could recognise you if you can just prove that you own that Gmail id. An OAuth Client is created for interacting with Google on behalf of you.
 | 
|
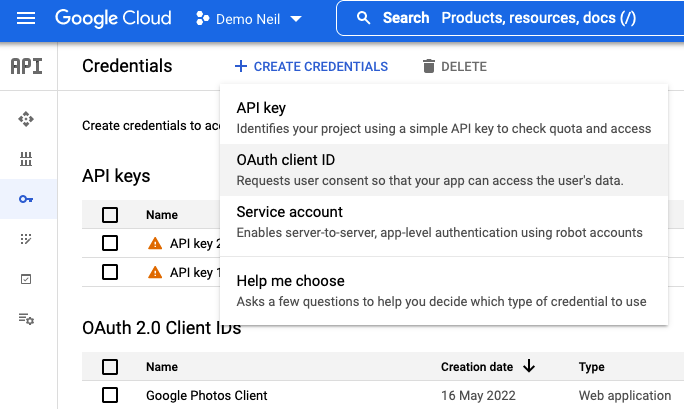
One can go to Google Cloud Console API Credentials and create a Client. Here are more documentation - OAuth API
Scope
There may be websites which actually may provide some services by interacting with Google services via your Google account. Say a site lets you download a file and also gives you an option to save it to your google drive directly without even having to save it locally. In that case, this website is uploading a file directly from their server directly using your credentials. You signed in with Google, doesn’t mean the website has unrestricted access to all your Google services. It needs to have your consent to do so. So the developer of the website needs to prompt your for some permission to be granted. This is the scope. When the website redirects to the login page of Google it also needs to tell that it is seeking the user’s permission to grant access. For example, in the Google Drive example, you should see a “Consent Screen” asking for Read/Write permission to Google Drive. Once you allow this consent is stored permanently against your OAuth Client (Google identifies the website using this.). If you have developed an app with Facebook Connect then you may have developed a Facebook App which acts as an OAuth Client. The following code tells what scopes to be asked for and where to redirect back once the consent is received.
// Access scopes for read-only Photos.
const scopes = ["https://www.googleapis.com/auth/photoslibrary.readonly"];

// Generate a url that asks permissions for the Drive activity scope
const authorizationUrl = oauth2Client.generateAuthUrl({
  // 'online' (default) or 'offline' (gets refresh_token)
  access_type: "offline",
  /** Pass in the scopes array defined above.
   * Alternatively, if only one scope is needed, you can pass a scope URL as a string */
  scope: scopes,
  // Enable incremental authorization. Recommended as a best practice.
  include_granted_scopes: true,
});

Documentation for writing server side web apps with Google OAuth is here
Finally, once the page is redirected to your app you can get hold of the access token and establish a session. In future articles, we can discuss the session handling and how using this access token further calls can be made to Google Services i.e. Google Drive and Google Photos.